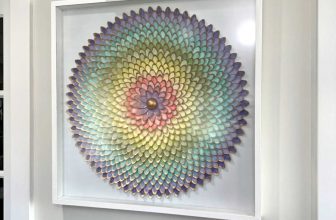
The cabinets in the office area of my studio took me so long to finish, and covered so many blog posts, that I thought it would be helpful to condense all of the info into one post with links to the specific posts that you will find helpful if you want to customize IKEA Sektion cabinets in a similar way. So let’s start at the very beginning.
Those cabinets, which are also IKEA Sektion cabinets, turned out like this…
So while much of the process was the same for the office area cabinets, there were also a lot of additional steps required to get the office area cabinets to look like this…
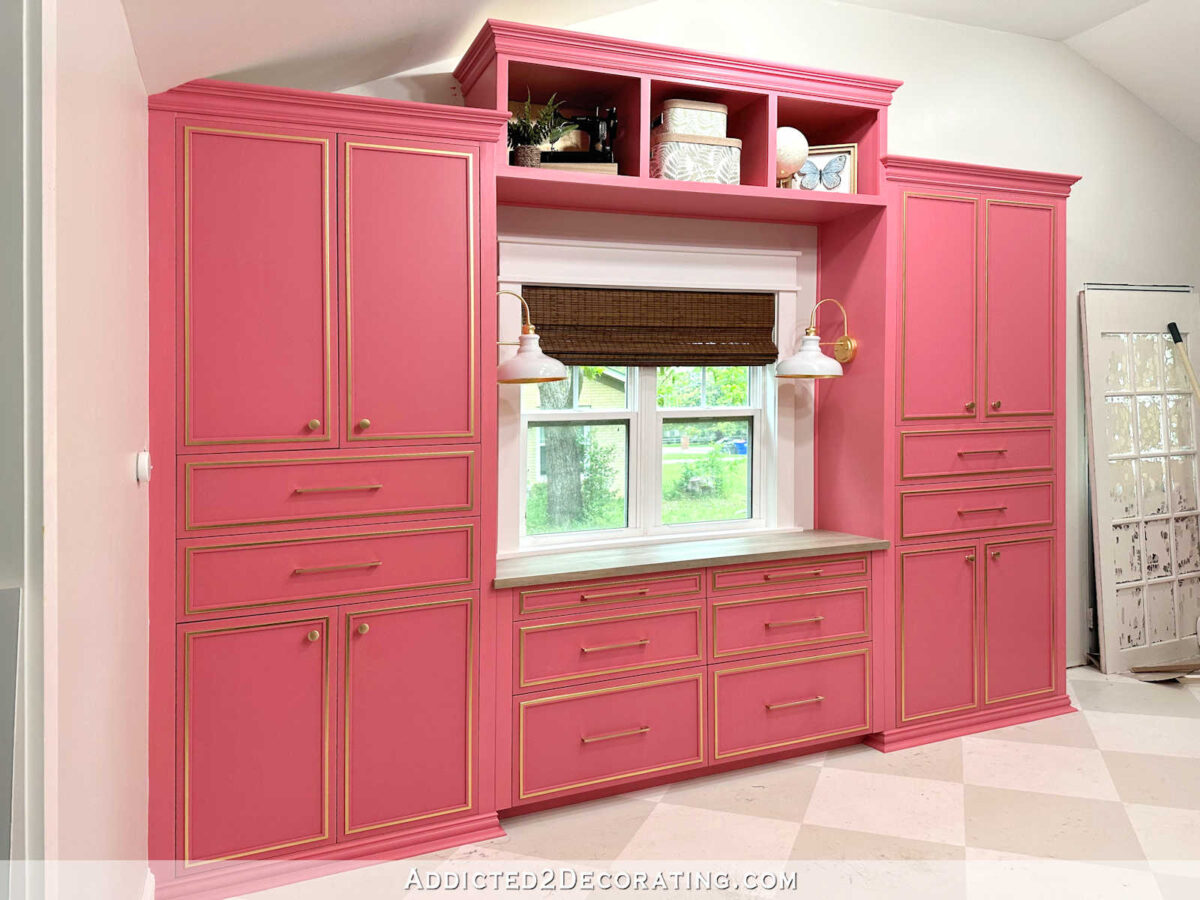
So I’ll start at the beginning and go through the process for these cabinets.
Prepping the cabinet boxes
After putting the cabinet boxes together according to the instructions provided with the IKEA Sektion cabinets, I made and attached my own feet rather than using the feet that you can purchase separately from IKEA for the Sektion cabinets. The reason I did this is because I needed a very specific height that was shorter than the shortest possible height that the IKEA adjustable legs provide. So I just used 1″ x 4″ lumber, cut down to the right width on my table saw, and then glued and nailed four pieces together for each foot that I needed.
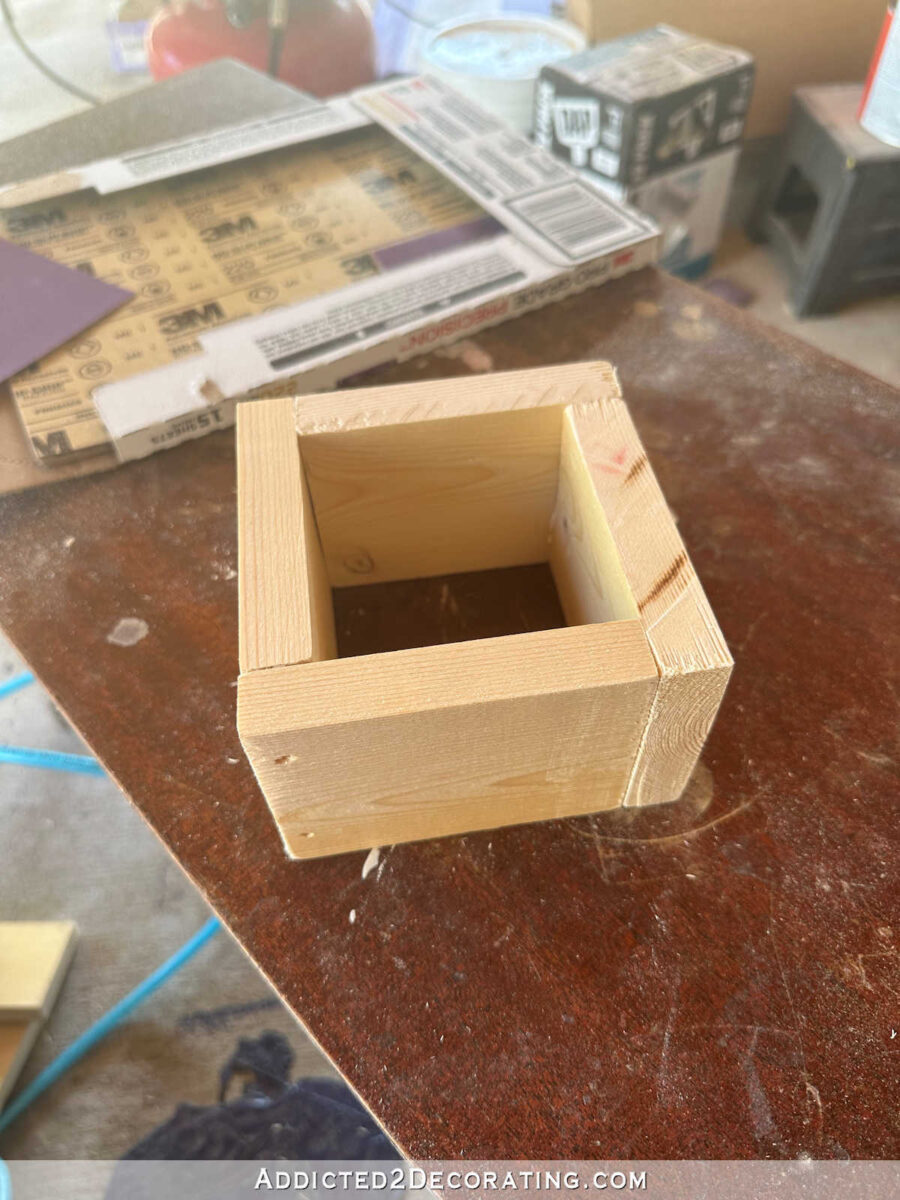
And then I attached those to the bottoms of the lower cabinets using a hot glue gun.
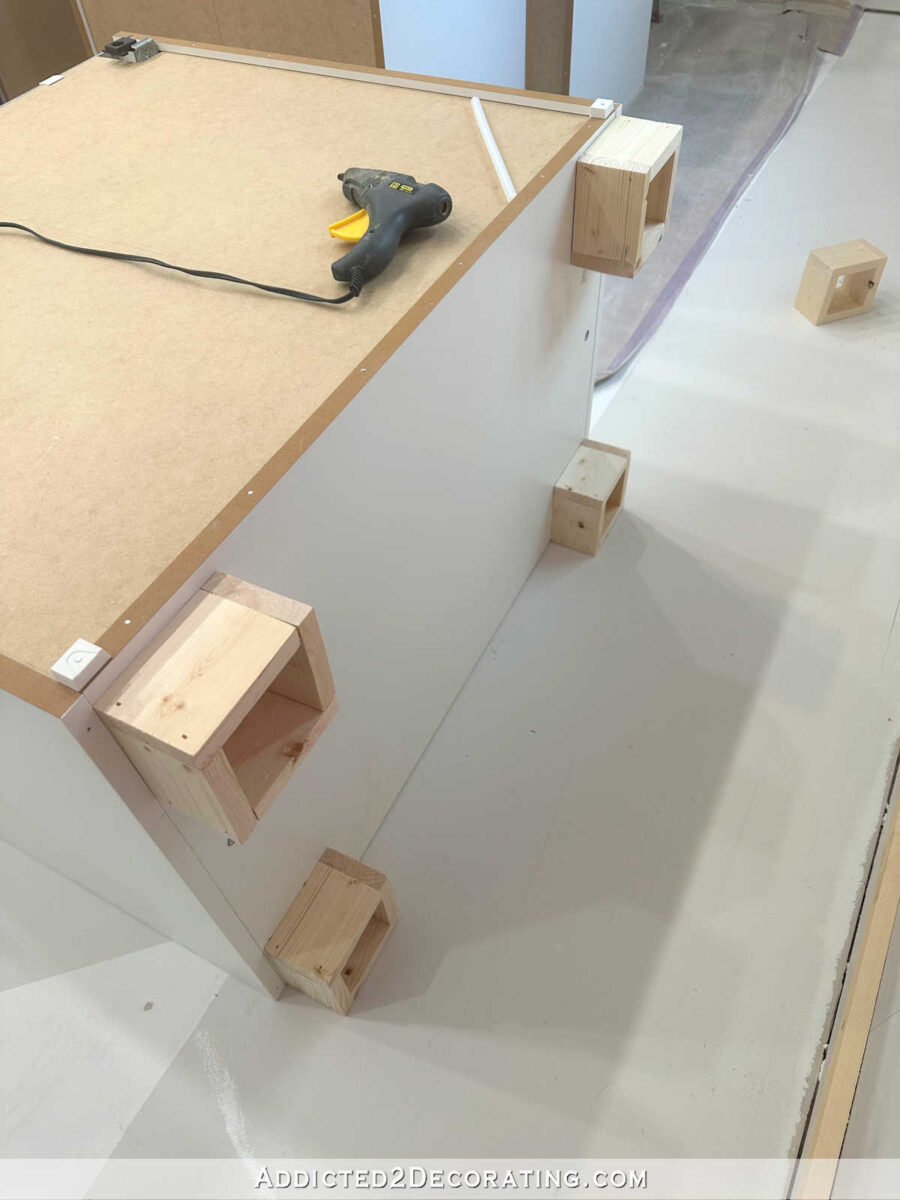
Installing the IKEA Sektion cabinets
I also didn’t use the rails that IKEA sells for securing the cabinets to the wall. Instead, I used 1″ x 4″ lumber, attached to the wall by screwing it into the studs, and then I used the hardware provided (screws and brackets) with the cabinets to screw the cabinets to the 1″ x 4″ board, and also to screw the cabinets to each other.
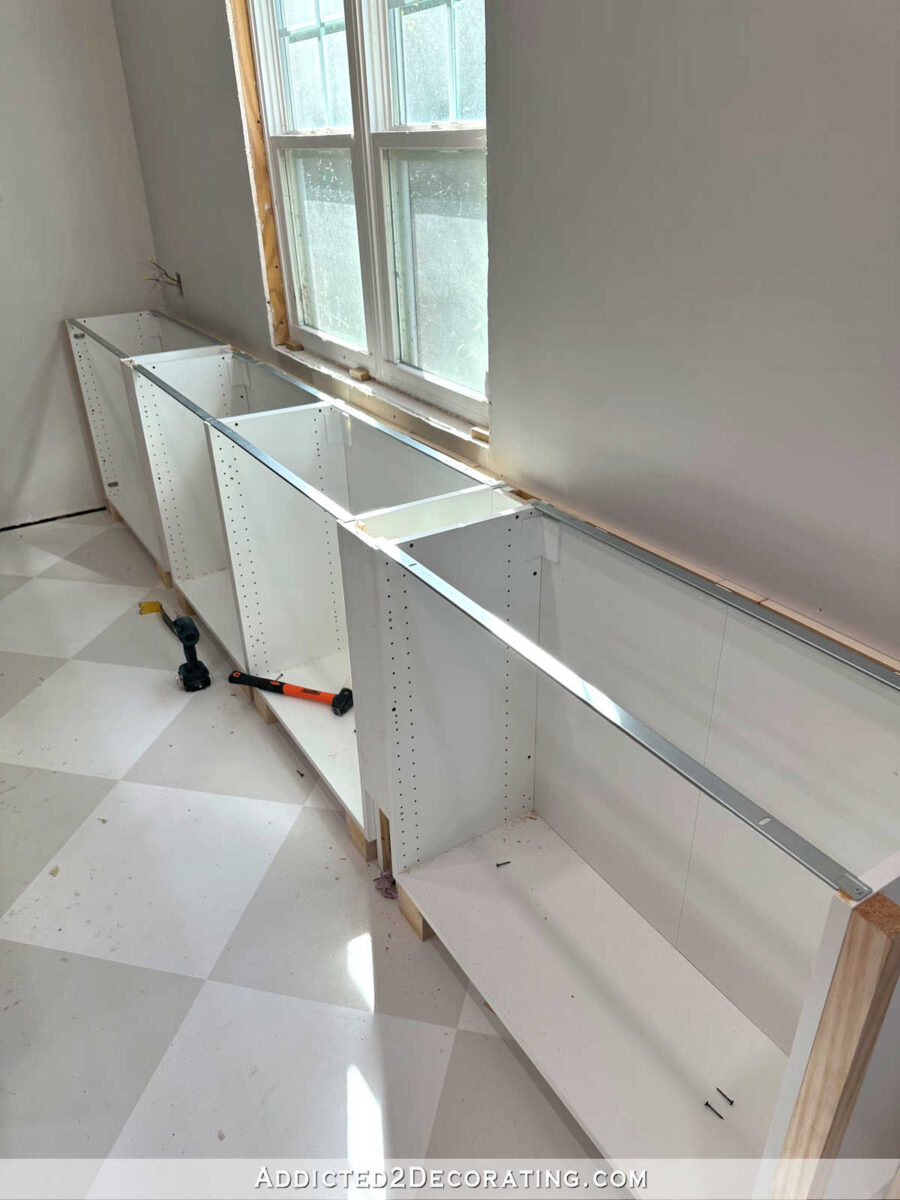
Once the lower cabinets were secured to the wall and to each other, I added the side upper cabinet boxes, screwing the boxes together as I went along.
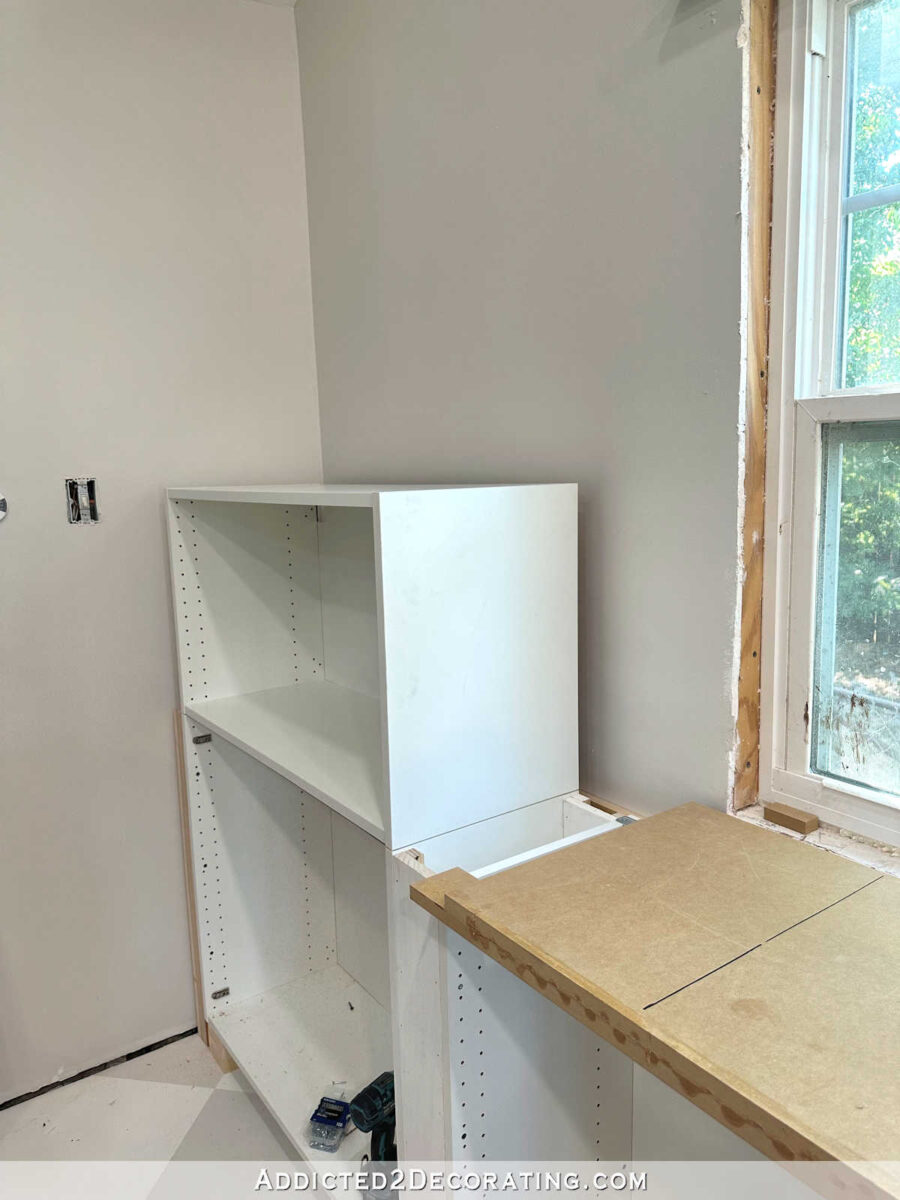
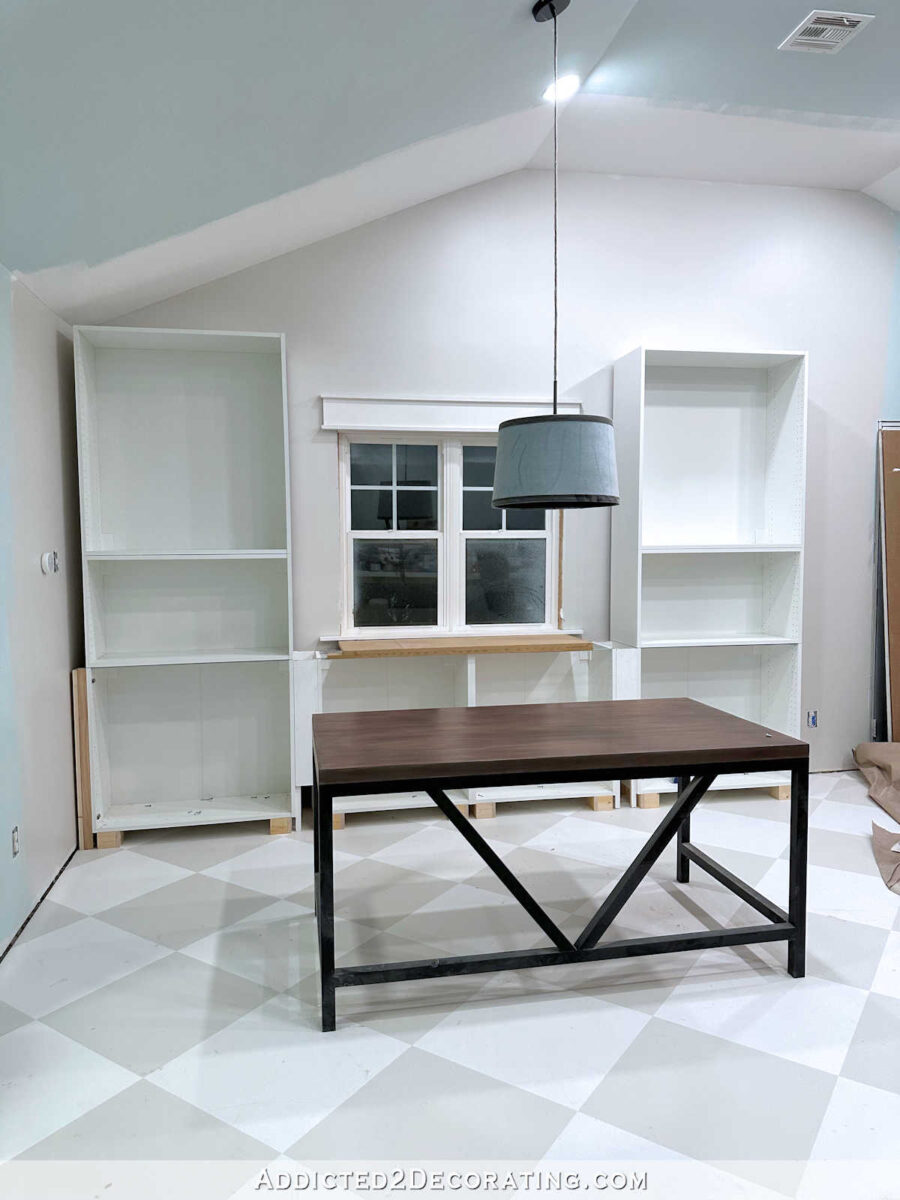
With all of the boxes assembled and secured to the wall and each other, this is what it looked like…
Customizing and painting IKEA Veddinge doors and drawer fronts
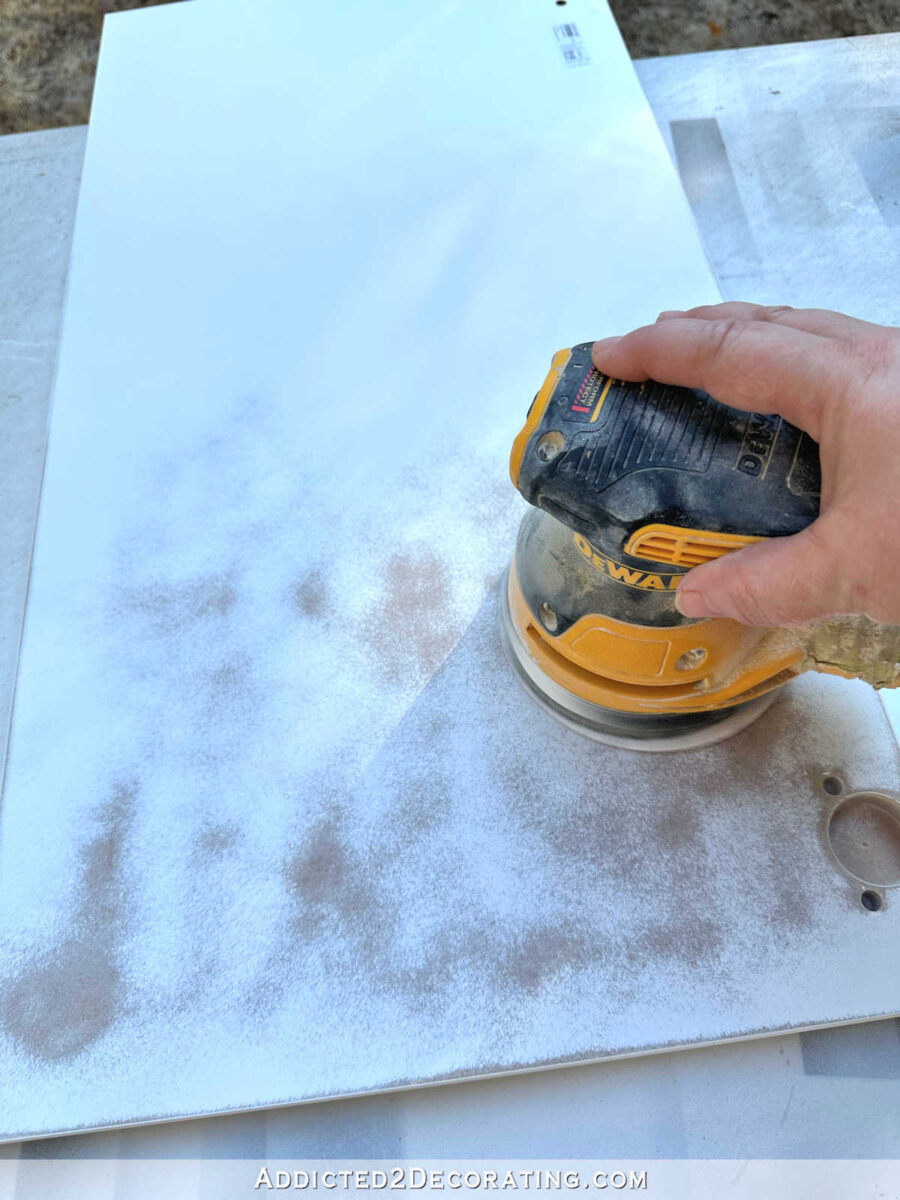
I used Veddinge doors and drawer fronts because they’re flat and made of MDF, so I thought they would be the easiest to customize. I sanded each one on the front and back…
And then added trim to customize the look…
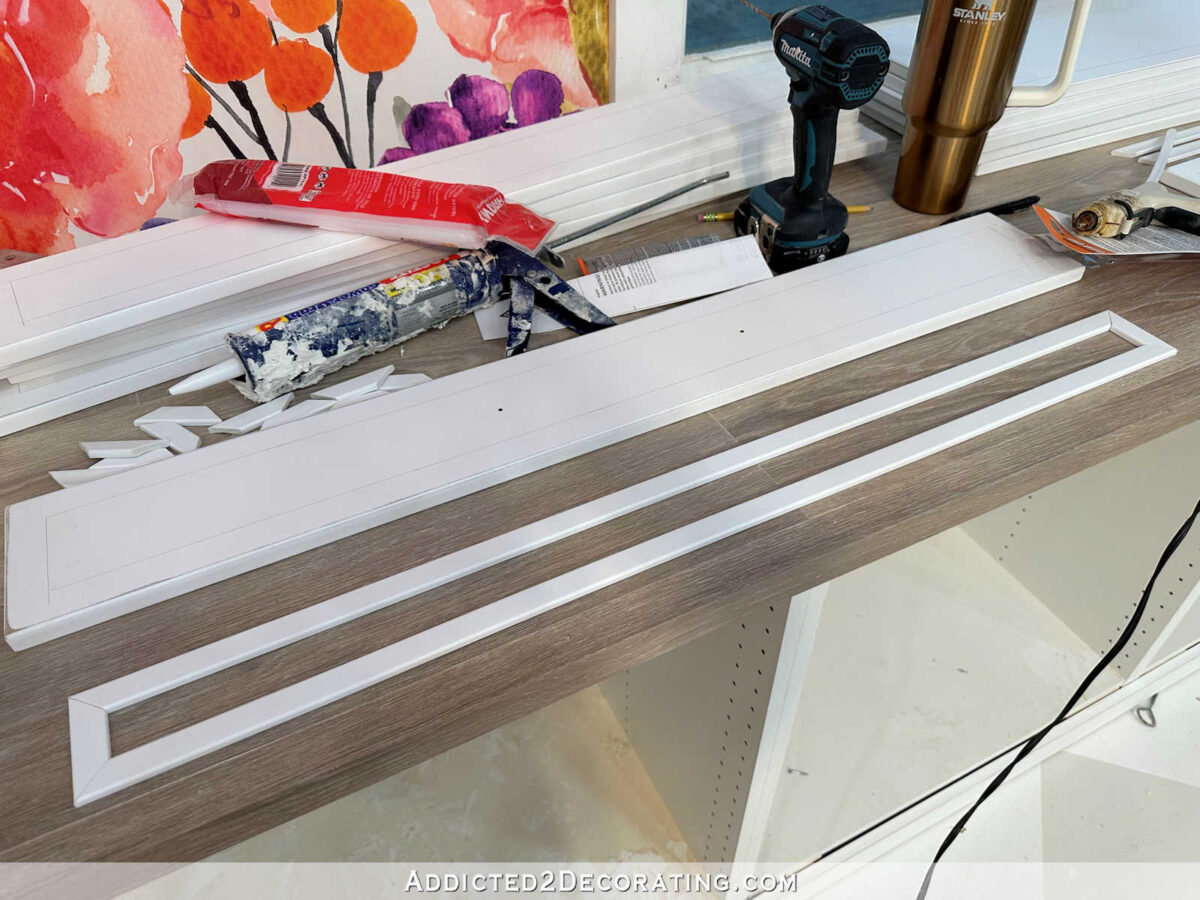
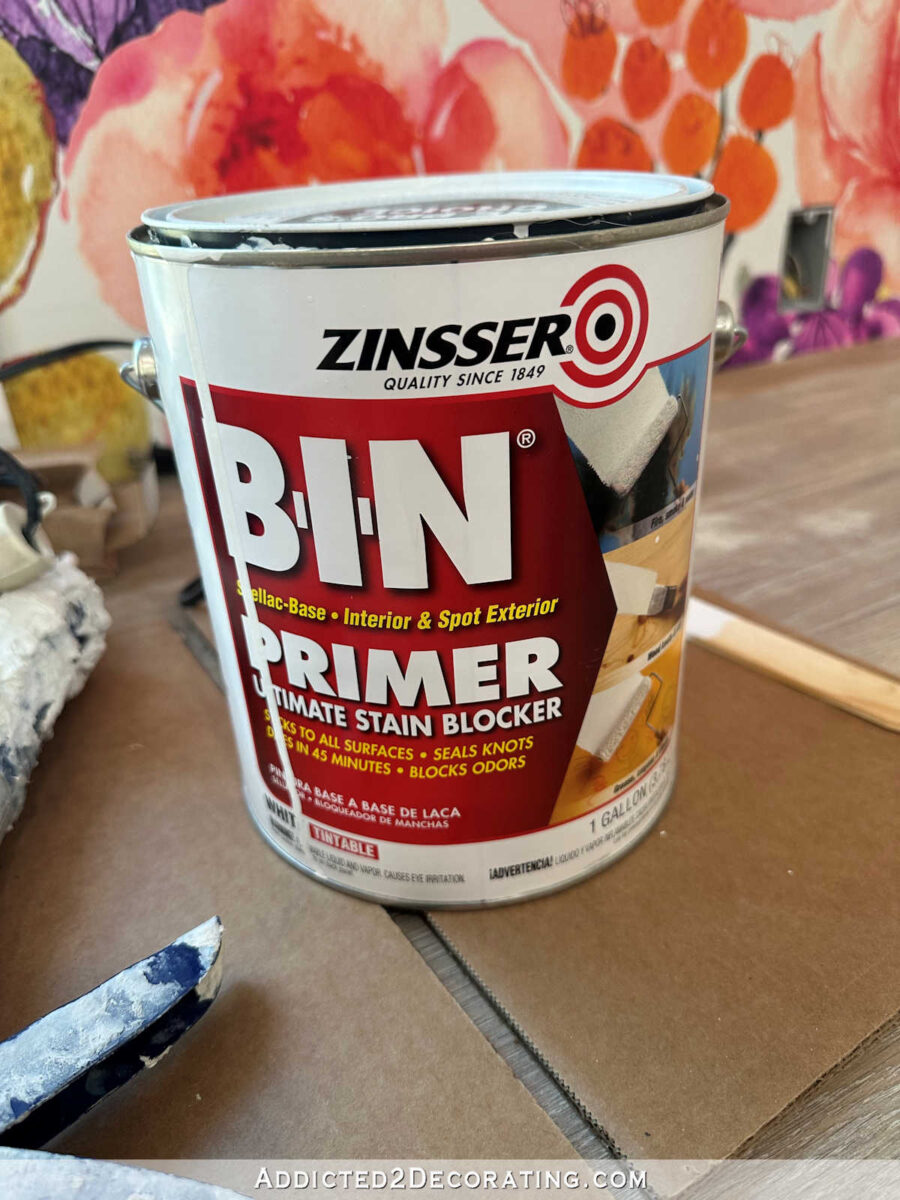
After the trim was attached and caulked, I used BIN shellac-based primer to prime the doors and drawer fronts using my sprayer.
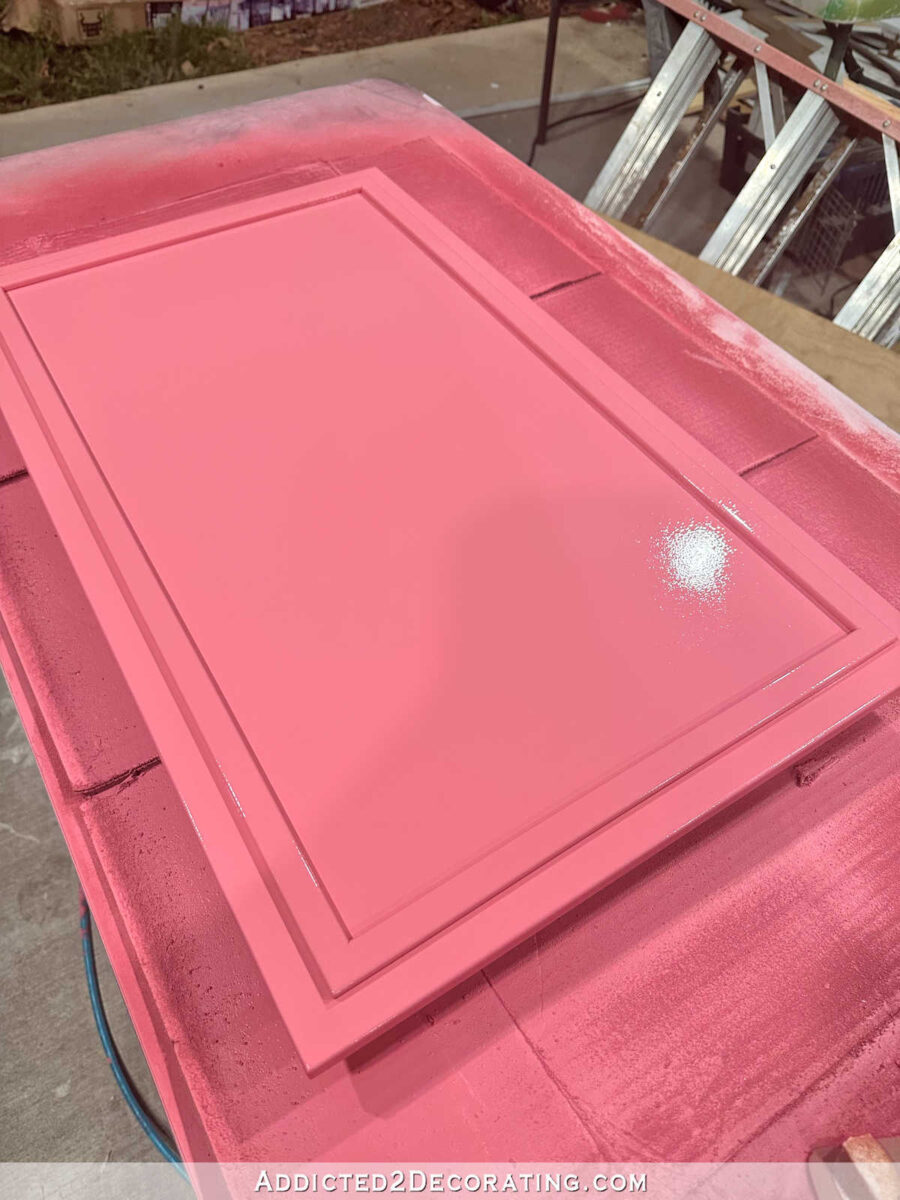
I sanded by hand with 220-grit sandpaper between each coat to ensure the best finish possible.
Building out the cabinets and wiring for sconces
I did not want these cabinets to have a full overlay look when they were finished. I wanted them to have more of an inset look when they were finished. So that required quite a bit of work with the addition of lots of spacers, plywood side panels, and lots of planning to get them just right.
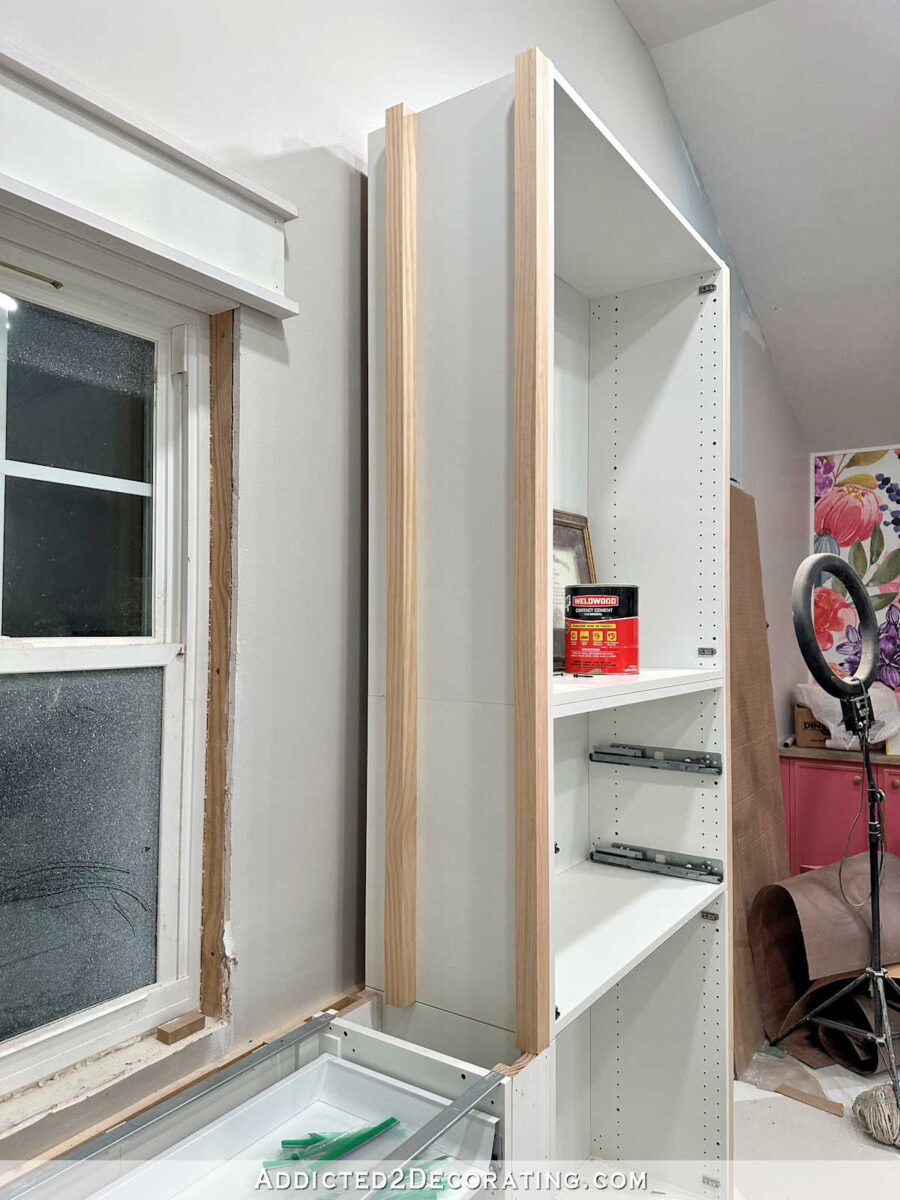
The basic idea is that I needed to not only build out the sides of the cabinets, but also provide area for front trim to be attached to, as well as add space for electrical wires to travel through.
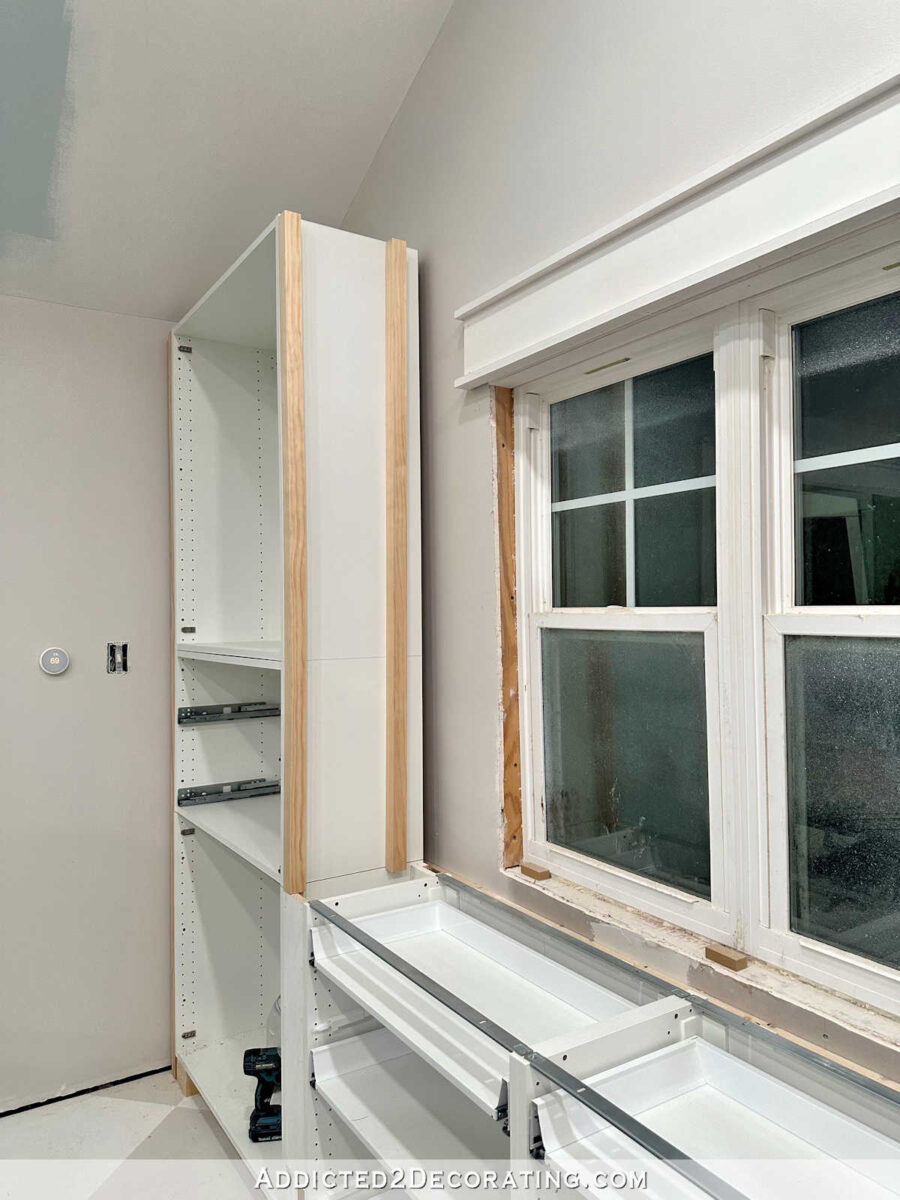
And I did that by adding two 2″ x 2″ pieces of lumber to each side of each cabinet…
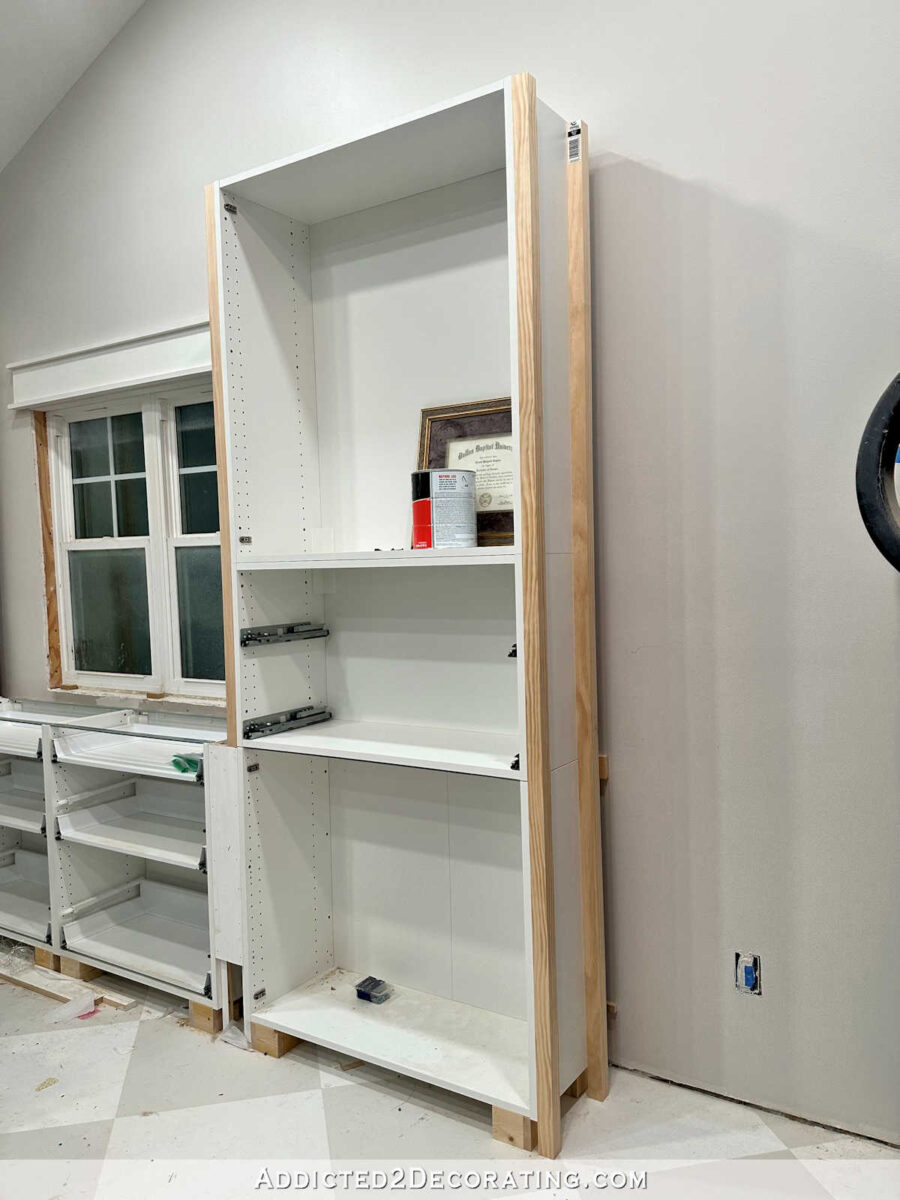
And then attaching plywood to those 2″ x 2″ strips. (I used plywood instead of the IKEA side panels since I was going to be priming and painting.)
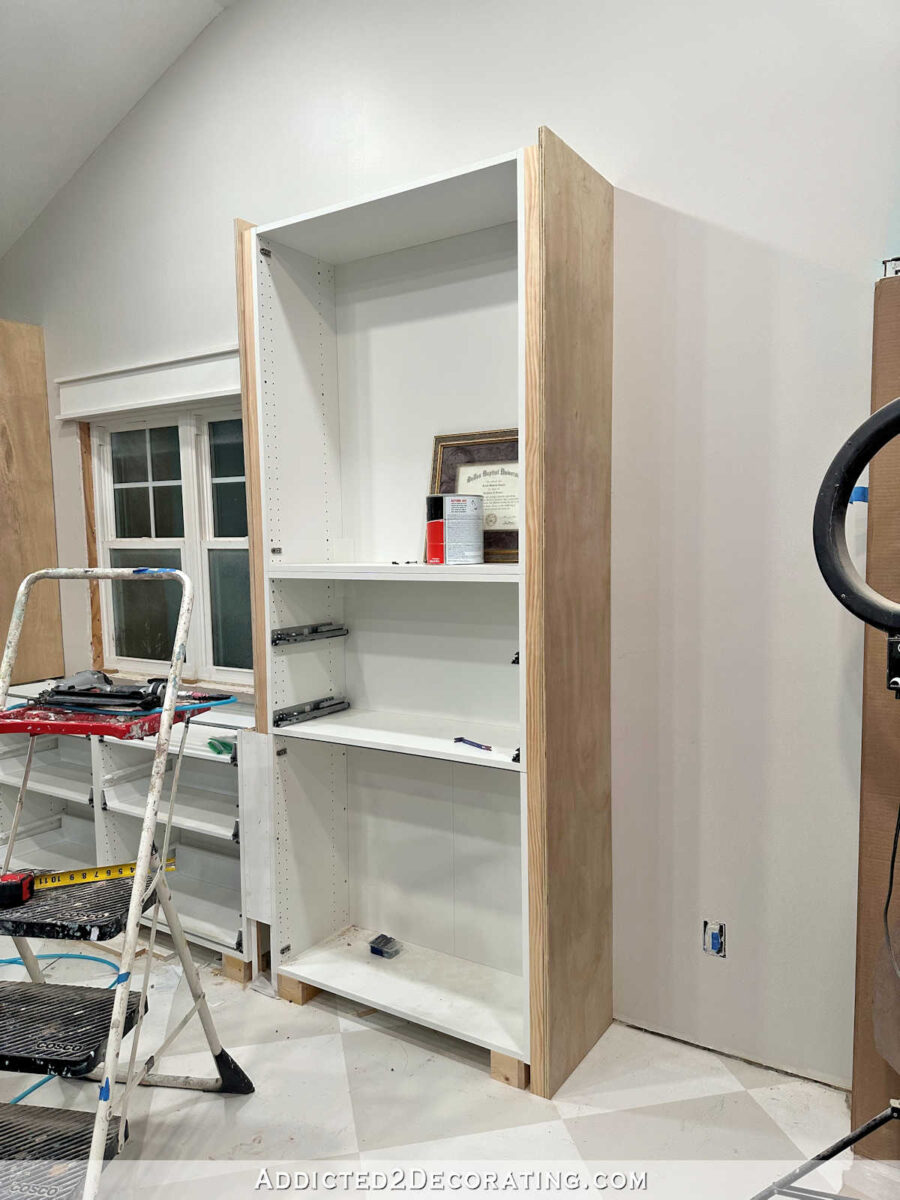
That allowed me to add trim to the front edges (turning the doors and drawer fronts from full overlay to inset), and it also allowed me to run wiring to add sconces.
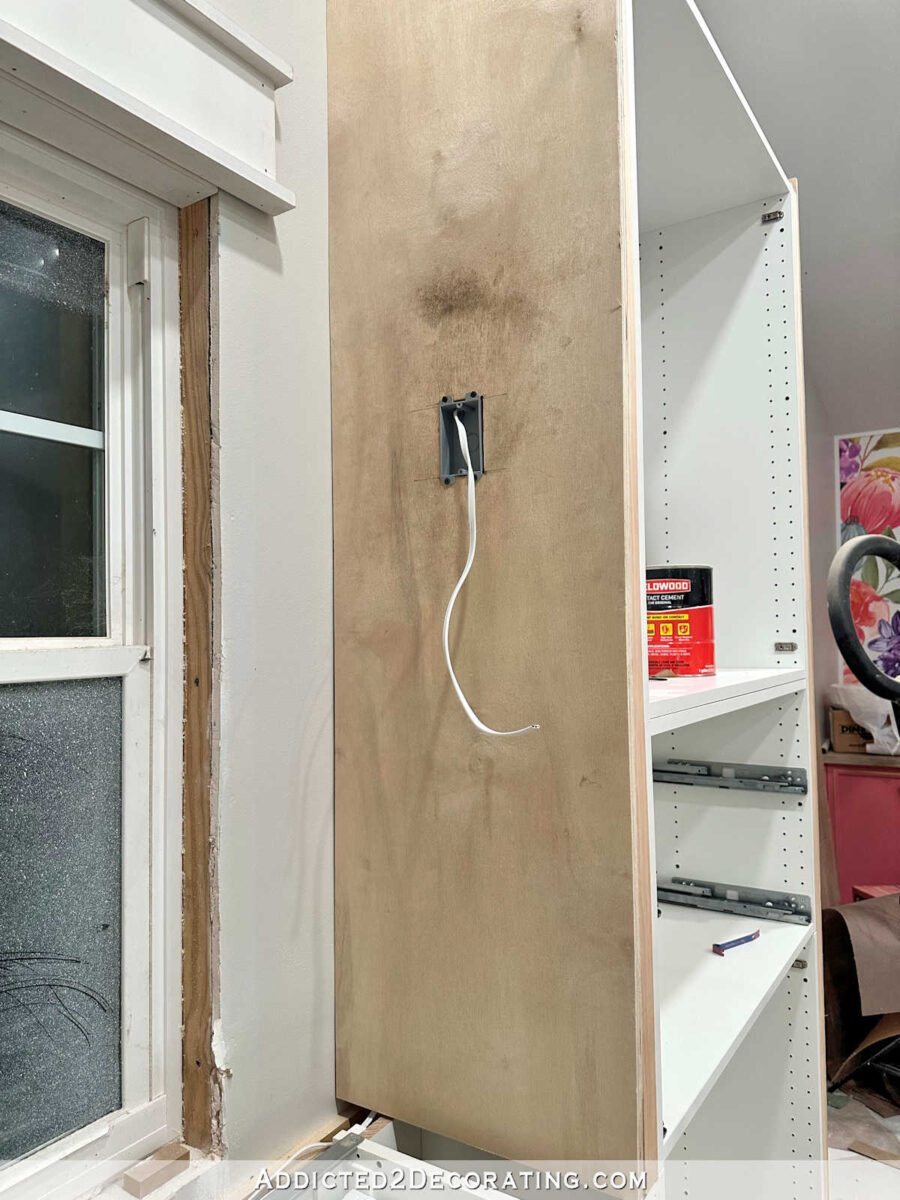
But again, every step of that process is detailed in the post linked above.
Building the bridge
I decided to build a bridge connecting the two side cabinets mainly because without the bridge, the cabinets seemed to be a bit dwarfed by this very large and tall wall. You can see what I mean in this photo.
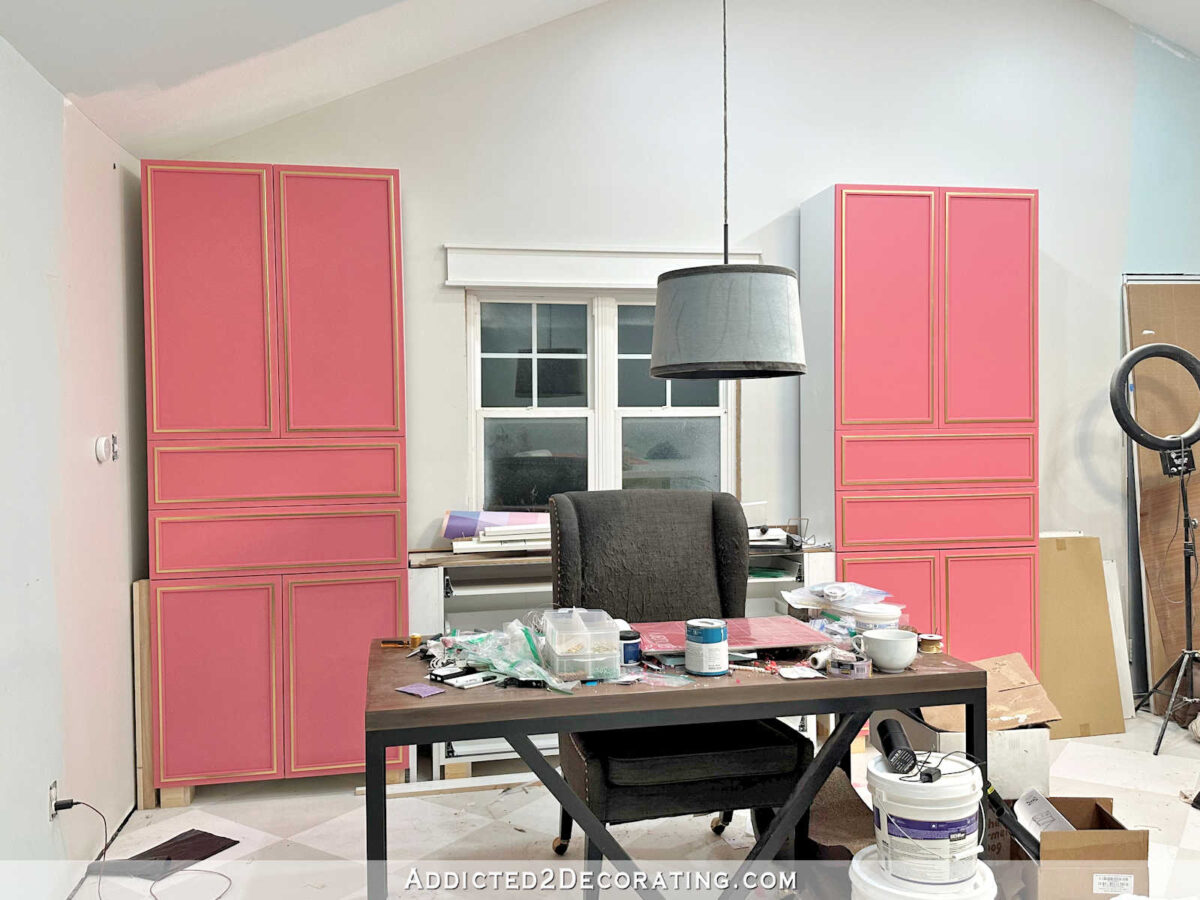
I felt like adding a bridge would make the cabinets look much more substantial on that big wall, as well as giving the cabinets a more custom look.

Trimming out the cabinets
Once all of the basic build was finished, I was finally ready to trim out the cabinets. Adding the decorative trim is always fun because it really gives the cabinets a finished and customized look.
I also shared a “cheat” method for creating the look of substantial crown molding without the hassle of having to actually cut crown molding.
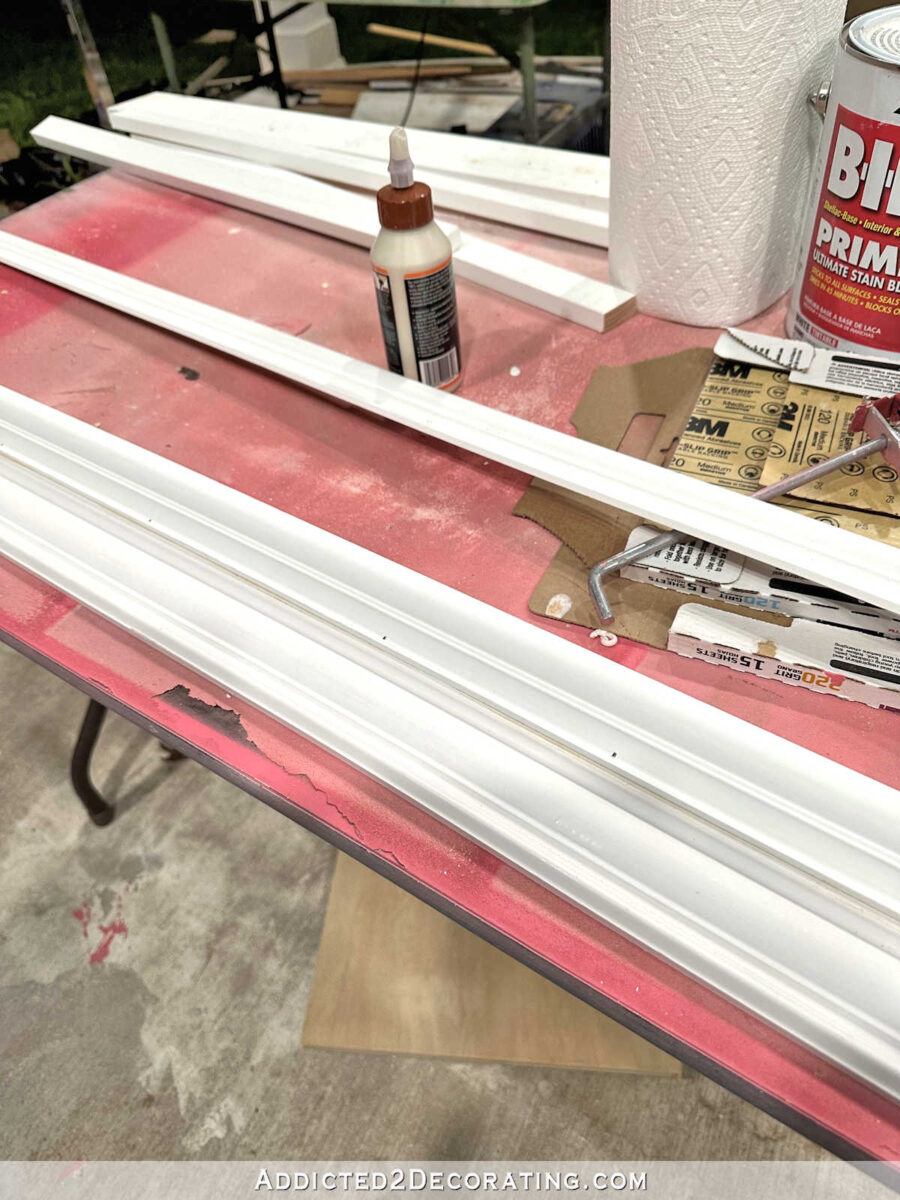
Here’s what the faux crown molding looked like once it was installed.

And here’s how the cabinets looked once they were all trimmed out…
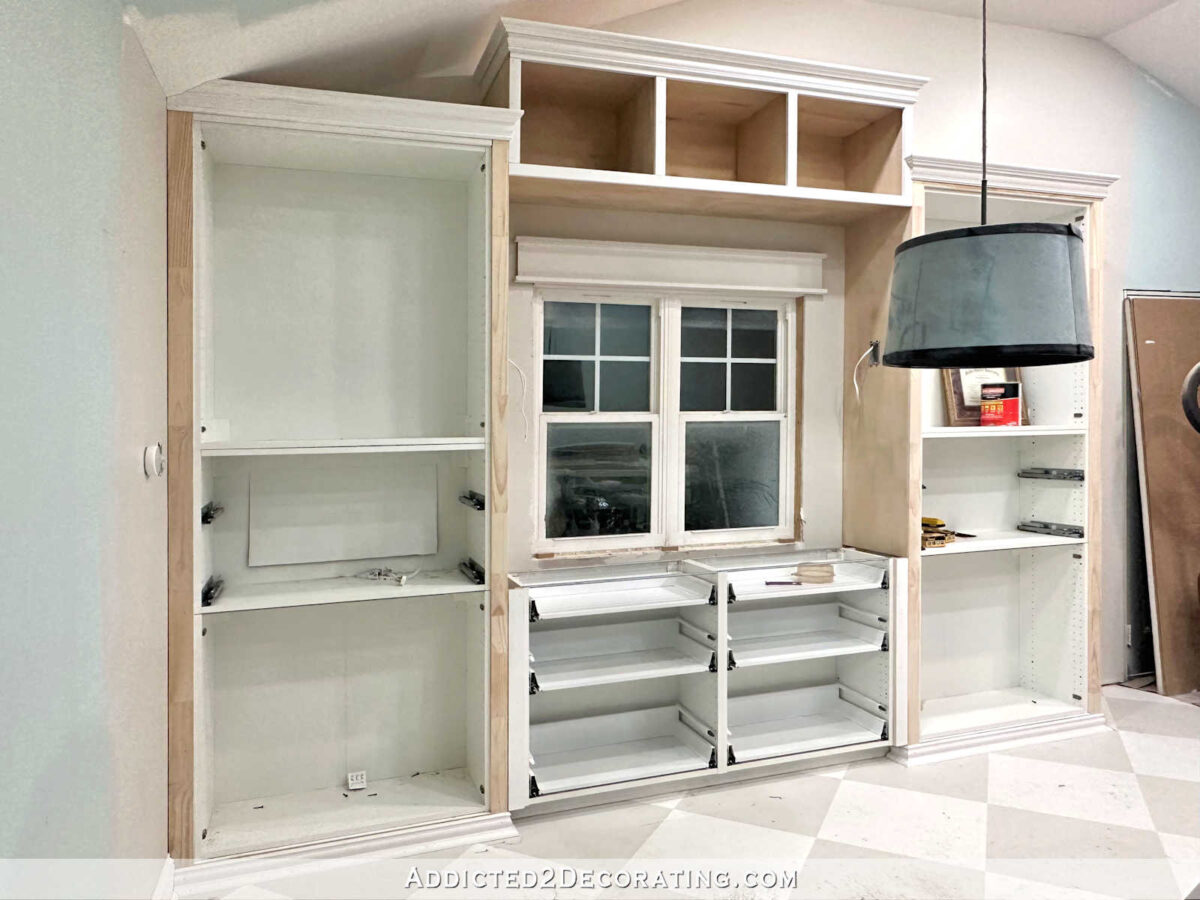
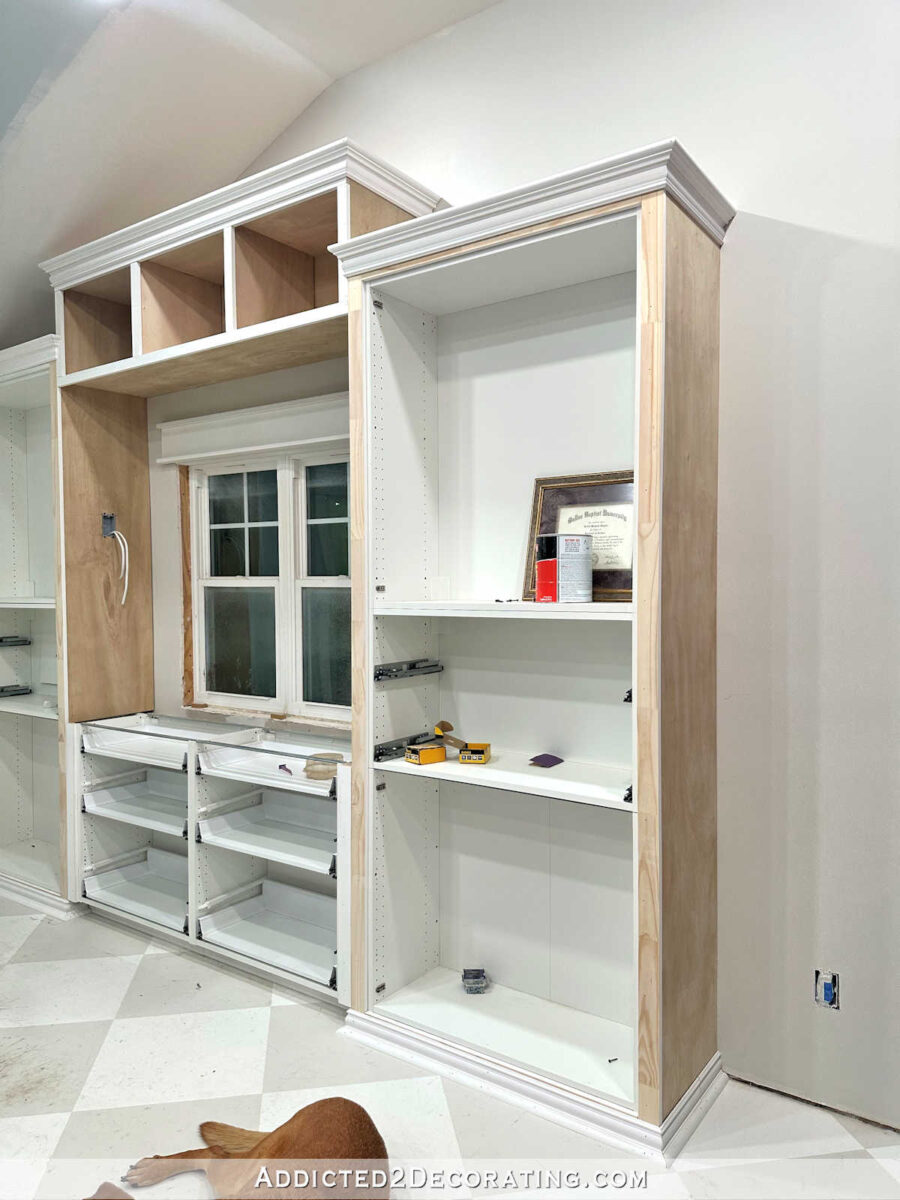
And after that, it was just a matter of priming, painting, and clear coating the cabinets before I could install the doors and drawer fronts.

And with a few more details, like installing the window trim, installing the sconces, and gold leafing the backs of the cubbies, the cabinets were finished!

Addicted 2 Decorating is where I share my DIY and decorating journey as I remodel and decorate the 1948 fixer upper that my husband, Matt, and I bought in 2013. Matt has M.S. and is unable to do physical work, so I do the majority of the work on the house by myself. You can learn more about me here.


